Audio Analysis
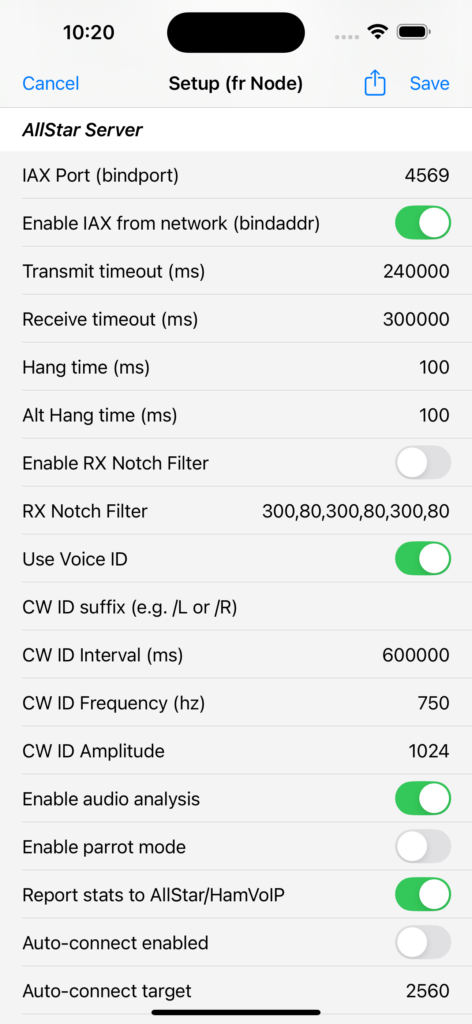
For the Audio Analysis function to work you must have it enabled – at the bottom of the Node Detail screen tap “AllStar/Echolink setup”. On the setup screen in the “AllStar Server” section, make sure “Enable audio analysis” is turned on. If not, turn it on and tap the Save icon in the top right hand corner of the screen. Your ClearNode will recreate its configuration files from the templates and then reboot.
IMPORTANT: The audio analysis tool uses the AllStar audio archive functionality – if you are already using the audio archive, you should not enable this tool as it will conflict.
Once your ClearNode comes back on line go to the bottom of the Node Detail screen and tap “USB Audio Setup”.
For each transmit and receive event (longer than 5 secs) the ClearNode will generate an audio WAV file and run it through an analysis tool called “SOX”, then delete it. The results are displayed as colored bar graphs as above.
The absolute numbers are not important – use this tool to compare your audio with the audio of others, so you can adjust your levels to be roughly comparable. I find that it works well to pay attention to the audio on your favorite Net – particularly the Net Control Operators, they tend to make some effort to ensure their FM deviation is within the proper limits. If your transmissions are making it into the red indication – you are probably over deviating and should adjust the level “To VOIP (rxmixerset)”, or back off your microphone or both.
Adjusting Audio Levels
To adjust the loudness of your voice transmissions into the AllStar and Echolink networks, adust the value “To VOIP (rxmixerset)”. Your goal is to get the various analysis values “into the green” somewhere around 50-60%.
Adjusting the “From VOIP (txmixaset)” is a little different. Changing this value adjusts the loudness of incoming voices from other users on the AllStar and Echolink networks. Note that this will NOT change the colored bar graph values – they will always reflect the loudness of the incoming signal – which is controlled by the remote user. This adjustment changes the local gain being applied to that incoming signal. Also note that “txmixaset” and “txmixbset” refer to the left and right channels of the stereo audio – generally “txmixbset” is not used, best to keep it at the same value as “txmixaset”.
In the top right hand corner of the screen are two action icons – Preview and Save. Preview will push your level changes into the live Asterisk server on your ClearNode so you can listen to the changes live. Save will permanently save the values in the configuration files and reboot the node. You must Save for any changes you make to be permanent.
Once you’ve adjusted, saved and confirmed that your audio is where you want it to be – it’s advisable to disable the Audio Analysis – it uses quite a bit of the CPU resources. Hop back into the AllStar/Echolink Setup screen turn off “Enable audio analysis”, tap the Save icon and let your node reboot.
Storing multiple Audio Setups
You will note that your Audio Setup has a name – the most common being “Default”. You can store multiple different setups in your Smartphone App to support different HTs that have varying deviations and qualities.
To create a new Setup, simply change the name to something descriptive, adjust the settings as appropriate and Save it to your ClearNode.
You can switch between setups by tapping on the first row’s label “Name (tap here for list)”. This will navigate to a picker screen where you can select and load one of your alternatives.
Tap on one of your setups and it will be loaded into the main USB Audio screen. Don’t forget you still have to save it to the node to make it effective.
You can delete entries from the list by loading them in the main USB Audio screen and tapping on the Delete icon in the top right corner.
After you’ve deleted a setup don’t forget to save the Default setup to your node – if you leave the one deleted on the node it will be restored back to your list next time you open it.
You cannot delete the “Default” setup – it must always be available.