Got AllStar ?
If you haven’t already registered with AllStar and had your node number assigned – here’s a link to their Beginner’s Guide: https://wiki.allstarlink.org/wiki/Beginners_Guide. This is a pre-requisite – even if you are working EchoLink or one of the digital modes – you are primarily interacting with the AllStar side of your ClearNode which bridges your QSO over to the other modes.
The Beginner’s Guide above addresses a slightly different use case that doesn’t quite match our needs. Since you are buying a pre-built node, we can skip a number of the steps in the guide. Here are the essential steps for a new ClearNode user joining AllStarLink for the first time:
- Register at https://www.allstarlink.org – your login will be your call sign and a password of your choosing
- The good folks at AllStarLink will then verify your call sign and, in most cases, automatically activate your account so you can login (might take 24 hrs) – you should get an email to the email address you registered with – check your spam folders !
- After activation – login to the portal with your call sign and your password
- In the green strap at the top of the page click Portal > Server Settings
- Add a new server – name it something obvious like “ClearNode”. (If you get into the richness of AllStar, you are likely to end up with quite a few “Servers”.) You can generally accept the defaults – but try to put something recognizable in the various fields – the critical field is “IAX Port” – here accept the default unless you know you need to use an alternate (unlikely)
- In the green strap at the top of the page click Portal > Node Settings
- Follow the “Request a new node number”. The “Server” created above will be pre-selected
- If this is your first node #, the node # will be programmatically created immediately, along with a random alpha-numeric password (not your login password)
- Capture that node # and password – that’s what we need to pre-configure your new ClearNode.
- NOTE: This is NOT your portal login password – each node has its own password and that’s the one we need.
- You’re done !!
Similarly, if you’re new to Echolink they have a series of help pages that will get you on your way to registering and setting up your node credentials: https://secure.echolink.org/help_ex/hh_goto.htm?hh_start.htm#intro.htm
EchoLink now requires using the -L version of your EchoLink call with ClearNode, or any other Simplex node for that matter – e.g. Z0ABC-L. Keep the non-sysop version of your Echolink call (e.g. Z0ABC) for use on your mobile phone version of EchoLink.
We now have a step-by-step guide to getting EchoLink running on your ClearNode once you receive it.
First steps with your ClearNode
Don’t plug in the ClearNode device just yet – let’s get the your mobile application installed and running first – it just makes things a little easier.
Download the mobile application
Download the ClearNode mobile application from Google Play or the iTunes App Store – search for “ClearNode” (one word). Go ahead and launch the app – the first thing you should see is the Registration/Login screen
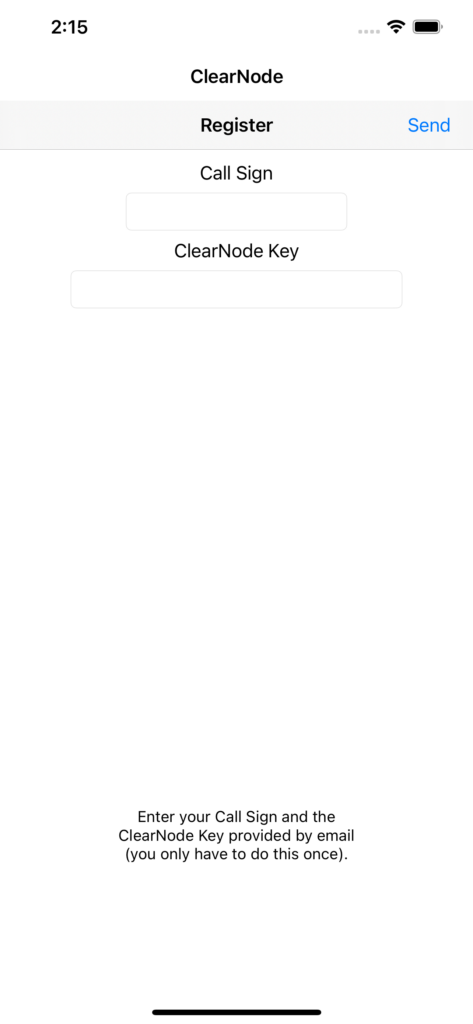
Enter your Amateur Radio Callsign and the “ClearNode Key” provided. You’ll receive your ClearNode Key by email shortly after we ship your node to you.
If everything checks out, you’ll be authenticated and the mobile app will navigate to a blank “Your Nodes” screen.
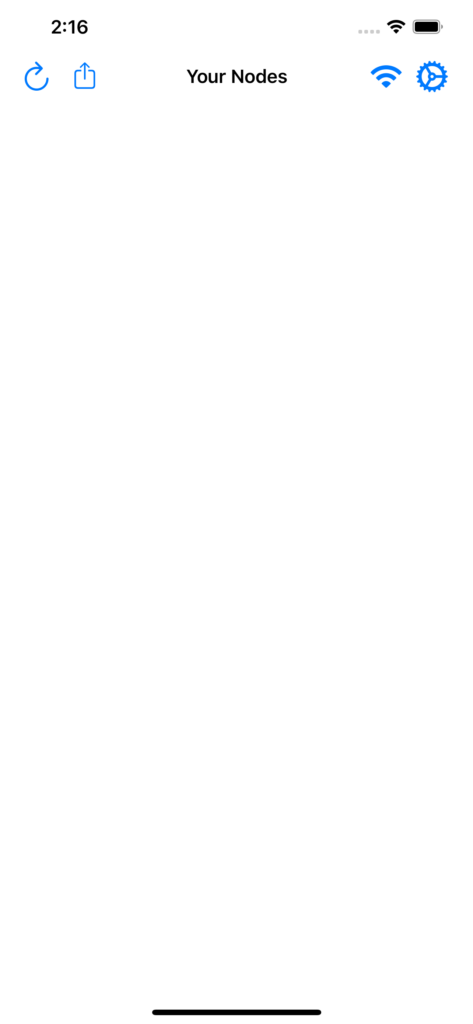
Where’s my node ??
Until your node is powered AND able to reach the Internet, your node and the mobile application can’t talk to each other. The ClearNode mobile app does not “store” any information about your ClearNode hardware – it will only display information about your node when it is running.
First power-up and Internet connection
There are several ways to get your node connected to the Internet – the simplest is to provide us with your WiFi credentials so we can pre-configure them before shipping. In that case, power-up the node and you’re all set.
But we understand if that’s not the way you want to go.
The next quickest way is to plug the Ethernet network port on your ClearNode right into your Internet router or hub using an Ethernet cable and then power-up your ClearNode. Generally home Internet systems will automatically provide an Internet connection and the node will start communicating with your mobile app immediately.
(Of course, if you have a ClearZero – you don’t have this option – there is no ethernet port on the Raspberry Pi Zero. If we have not pre-configured your WiFi credentials for you – you must use WiFiByLight to get the node on your WiFi – skip to the “Third Option” below.)
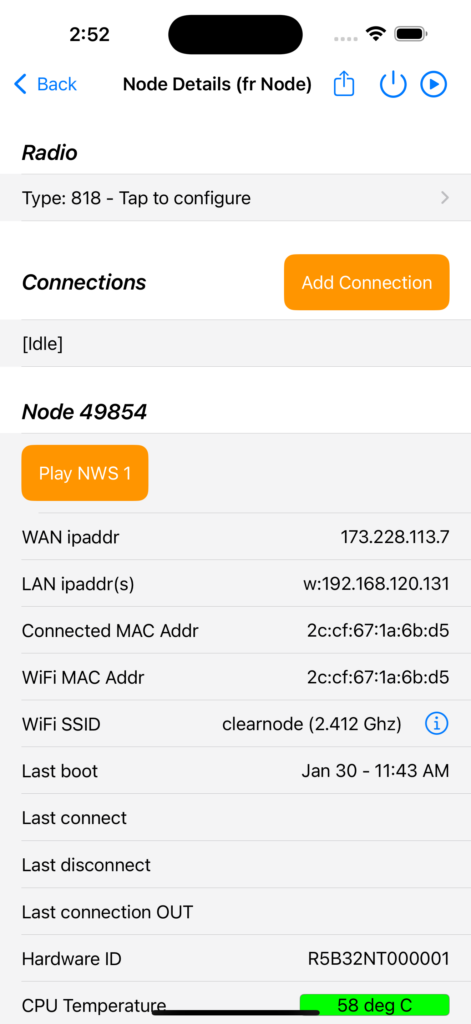
In the “Your Nodes” screen your node # will appear as the first and only record. Tap on it to get to the “Node Details” screen.
Add new Wifi Credentials
Now that your node can communicate over the Internet (via the Ethernet cable) you can use the WiFi Management screen to Add your WiFi Credentials. Scroll to the bottom of the Node Details page and tap “WiFi Networks Setup”.
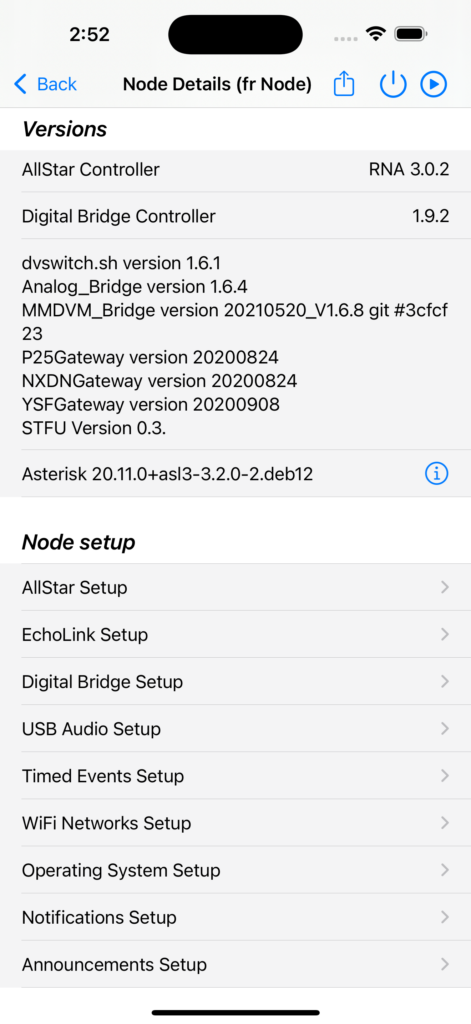
Since this is the first time you have used this screen it will be blank.
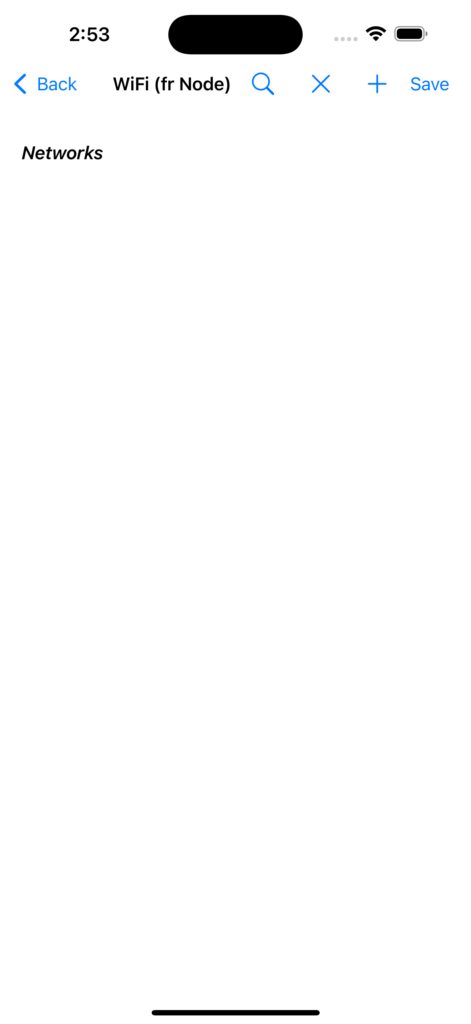
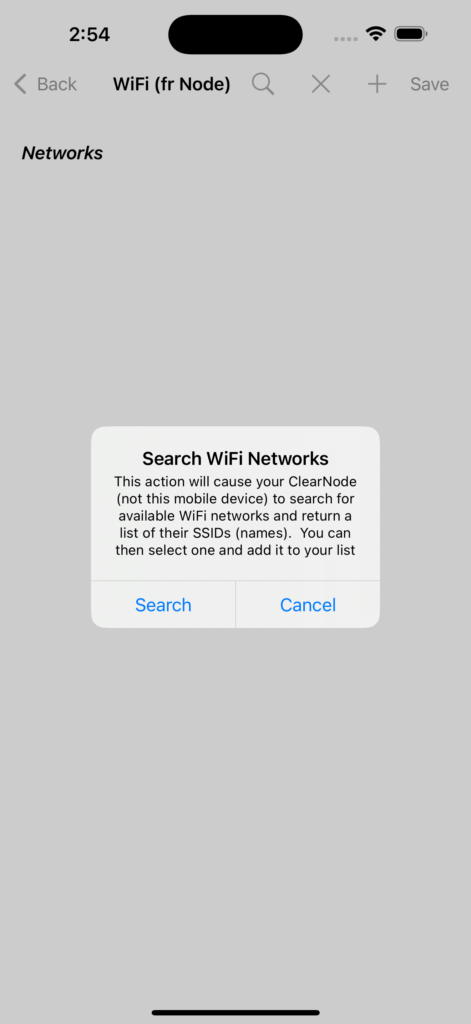
In the top right corner tap the spy-glass icon to activate WiFi search mode. Tap “Search” in the popup dialog.
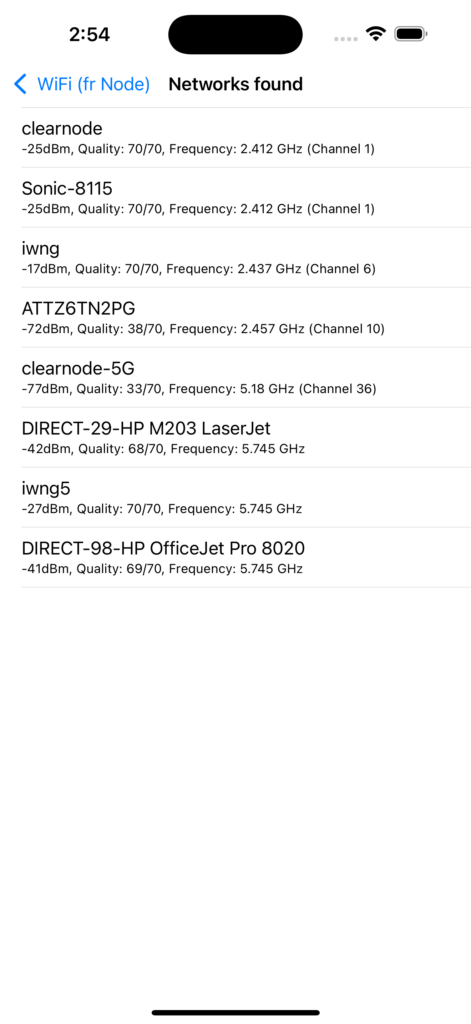
Wait several seconds for your node to complete the WiFi search and present the results in the screen.
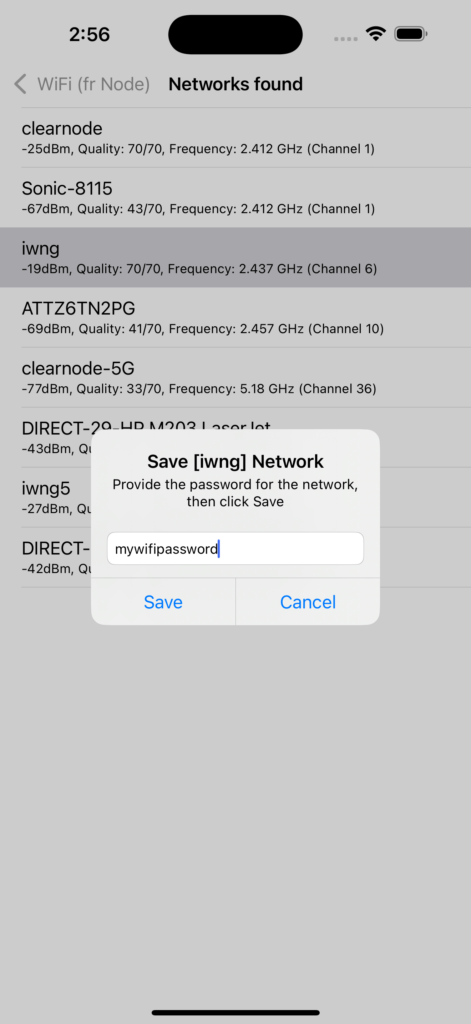
Tap on the network you want to add to your ClearNode and fill in the popup screen with the Password (PSK) for the network. Passwords must be 8 characters or longer, then tap “Save”.
After the reboot the new WiFi network will be added to the list in your ClearNode mobile app and it will be active in your ClearNode device.
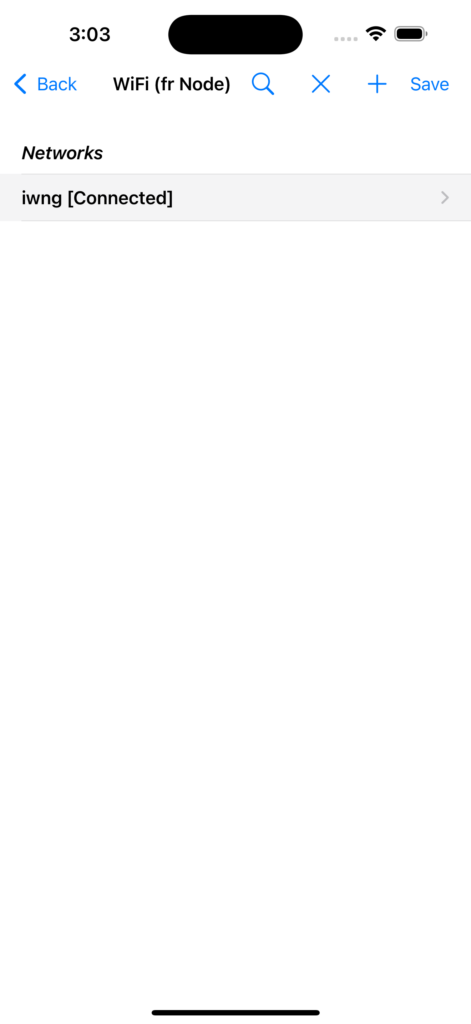
You can continue to add other WiFi networks to your mobile app and/or your ClearNode – for a more in-depth description of managing WiFi, including using mobile hotspots – head over to the MANAGING WIFI page.
One final task – remove the ethernet cable – you don’t want to run your ClearNode on both WiFi and Ethernet at the same time – choose one or the other.
Third option – Sending WiFi Credentials via WiFiByLight
WiFiBiLight should be performed in a low ambient light situation – seriously – think “bed side or night light before you go to sleep”. Bright or direct light will interfere with ClearNode receiving the light coded data – if the process is failing, pound to a penny it’s because the ambient light is too bright. The sensor needs to be able to clearly distinguish between your phone’s flashlight being on or off.
There is a photosensor on the circuit board of your ClearNode device which can read coded light sent by your mobile device’s camera flashlight LED.
Navigate back to the “Your Nodes” screen of the mobile application tap the WiFi icon in the top right corner. Enter the SSID and PSK (password) for home or office WiFi network – but don’t press the “Start” button yet.

Plug the power cord into your ClearNode device and plug the power supply into an outlet. Wait patiently and keep an eye on the circuit board of your ClearNode device – there are a number of LEDs which will go through a cycle of flashing on and off – you’re looking for the Red LED on the top circuit board to turn on solid and stay on.
When the Red LED is on solid on it’s telling you that the device cannot reach the internet and it’s waiting for you to proceed with WiFiByLight. It will wait for 2 minutes in this condition and then reboot the node and start over again.
As soon as you see the solid Red LED:
- Android and iOS users: point the rear facing camera and flashlight toward the top of the ClearNode PCB, roughly at the base of the antenna, about 1 or 2 inches away. Tap “Start” on the WiFi Credentials screen – hold it steady and wait until the flashing stops. If the credentials were successfully received by the ClearNode – the Red LED will flash 3 times and then the ClearNode will reboot.
- Your mobile device may ask permission to use the camera – if that happens – grant the permission first and then start over. Granting permission during the first attempt to start WiFiByLight is very likely to cause the attempt to fail. Simply start over now your device has permission to use the camera light.
As your ClearNode reboots, various LEDs will flash – if you’ve successfully configured WiFi credentials – the Red LED will flash 6 times and your node should appear in the “Your Nodes” screen in the mobile application.
If you don’t get the confirmation 3 Red LED flashes, wait for the node to timeout, reboot and once again turn on the Red LED solid. Try again – make sure you’re shining the flashlight onto the top plate of the node just to the side of the antenna, about 2 inches away – hold your mobile phone steady and let the flashing sequence complete before you pull the phone away – the start and end of the process is marked by a long ON period for the camera light
Troubleshooting: the main reason that WiFiByLight fails is because there is too much ambient light – the light sensor needs to distinguish between your phone’s flashlight LED being on and off – the brighter the ambient light, the more difficulty it will have sensing that change.
(Also see the section “Understanding the LEDs” in HARDWARE HELP for information about the meaning of the 4 LEDs on the top of your ClearNode.)
Fourth Option – WiFi Rescue Mode
For ASL3 nodes, starting with API level 151 we have deployed a WiFi Rescue Mode for recovering nodes that are unable to connect to the internet because of changed WiFi configuration, or the node being in a location where it does not have information about the local WiFi – and – you don’t have access to a cabled ethernet network connection.
It is good idea to have your HT turned on and tuned to the node – it will make audio announcements as indicated below.
When your ClearNode starts up from cold, or after a reboot, it tests the network connections to see if it can reach destinations on the public Internet. If it fails it goes through a series of modes, each mode gives you an opportunity to supply it with a fresh WiFi name and password.
Firstly it will offer you the opportunity to use WiFiByLight (see above) – when the top Red LED is on solid the node is waiting for you to start the WiFiByLight process. It will announce “ClearNode cannot reach its servers on the Internet – ClearNode is waiting for WiFiByLight”. It will wait for 90 seconds and then, if you take no action, announce “WiFiByLight failed” – then it will reboot.
The WiFiByLight mode will be activated twice – after the second reboot – your ClearNode will activate the WiFi Access Point mode so you can connect to it. It will announce “ClearNode cannot reach its servers on the Internet – ClearNode is waiting for help.” Several seconds later it will announce “Starting WiFi Hotspot” – the top Red LED will now cycle on and off every 2 seconds. It will remain in this mode for 1 hour, then it will start the process over again from the top.
The rescue process is very simple. The ClearNode will now be advertising a new WiFi network named “ClearNodeNeedsHelp”. On the smartphone you use to run the ClearNode App – first exit the ClearNode App – you are going to want to start it fresh once you’ve connected to the “ClearNodeNeedsHelp” network.
Now go into your Smartphone’s WiFi Connection settings and look for the above network. Your phone will need to be very close to the node – within a few inches. Join that network – the password is “clearnode” – one word, lower case.
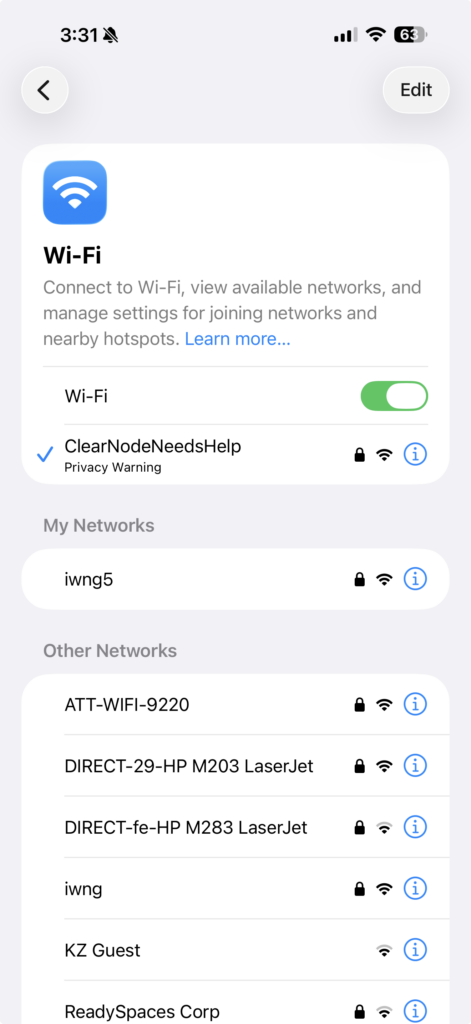
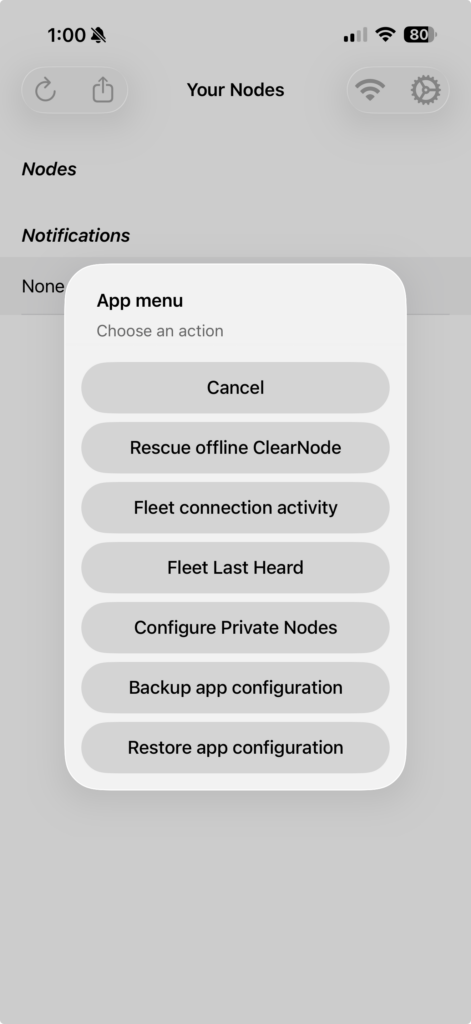
Now re-launch your ClearNode App – the “Your Nodes” screen will be empty – you are not connected to the internet, so it can’t reach any of your nodes. However it can reach your node that’s in Rescue mode. Tap on the drop down menu and choose “Rescue offline ClearNode”.
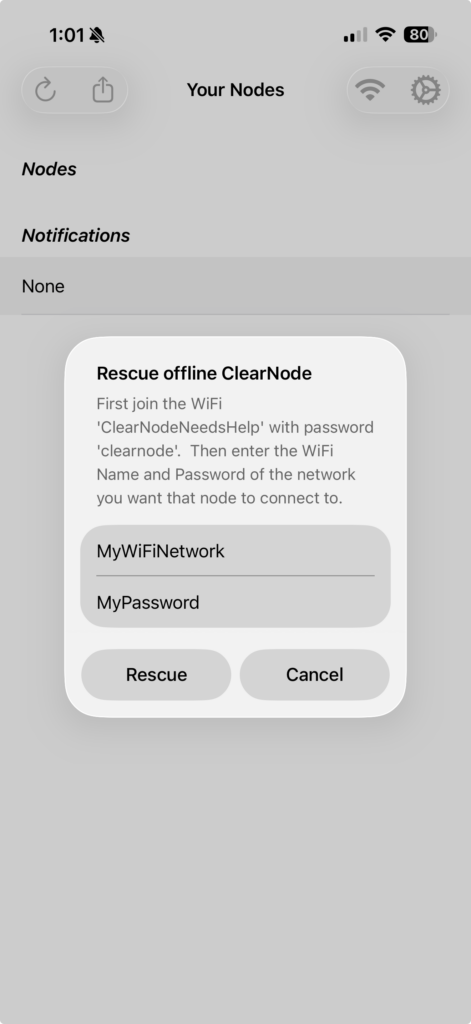
Enter the WiFi details and tap the “Rescue” button – keep your ClearNode App open and wait for the confirmation.
You must provide exact and correct information – upper/lower case matters, embedded spaces matter – if you supply incorrect WiFi Name or Password, the node will continue to fail to connect.
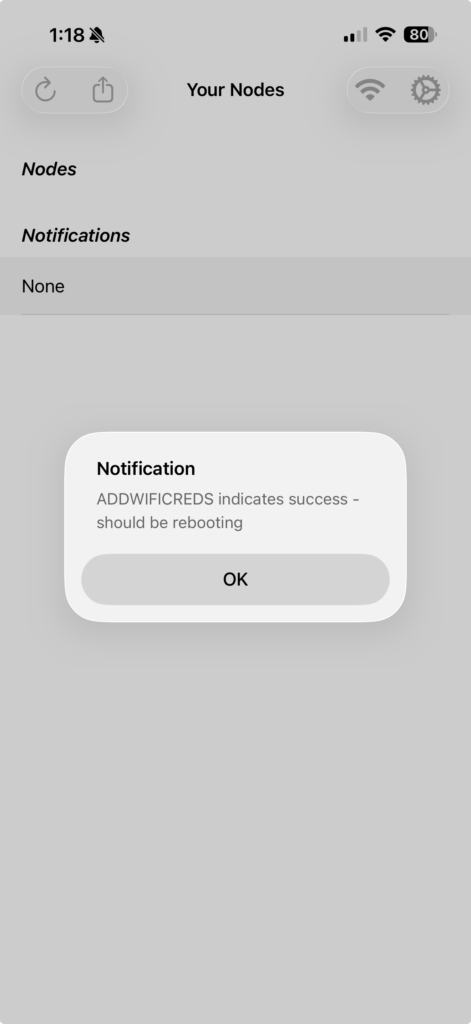
With luck, that’s it ! Your ClearNode will reboot and attempt to connect to the network you provided.